Tabletop Campfire October 1, 2009
Posted by jeffcummings in Uncategorized.Tags: Boy Scouts, Campfires, Campouts, Craft Helps, Cub Scouts, Meeting Helps, Outdoors, Scout Leaders, Smores, Training, Webelos
3 comments
Hello fellow Scouters,
There are many great tabletop 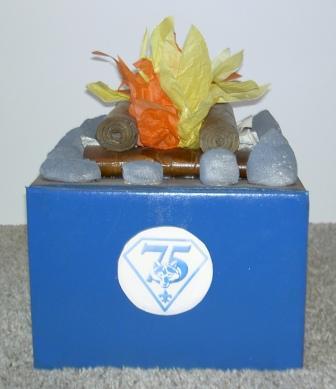 campfires on the Internet. Here’s one that I made for a centerpiece for our pack’s 2005 Blue and Gold banquet. Actually, I made three of these for that banquet, which celebrated the 75th anniversary of Cub Scouts. Even though this was a stationary item, I wanted to have something to make it stand out. So I decided to have a flickering flame effect, done by using a battery-powered fan to blow the flames. While reading this, please note that what was done in a den meeting as a den project is noted by “we”, as in “we made a…”. I didn’t make all of this – my Scouts did a lot of the work on this centerpiece (which they should!).
I started with a 12″ x 12″ x 12″ box. I sealed the top with glue and cut off the bottom flaps. Then, I cut a hole in the center of the top of the box the same diameter as the fan that I bought for this project. I then painted the sides blue and the top brown (to simulate dirt).
Then we wired the fans. We did this as Webelos for 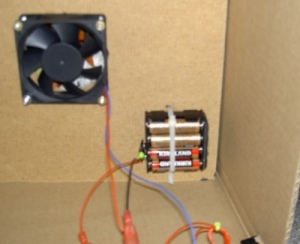 Engineer #6 (making a circuit – we substituted the fan for the light). The fans were connected to a battery pack with a switch in the line so we could turn the fan on and off from outside the box. We purchased the fans, battery holders, and switches from Radio Shack. This was the most expensive part of the campfire.
Next, I cut out some thin press board to fit inside of the box, as I 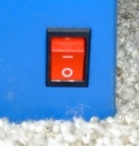 didn’t want to mount the electronics to the cardboard (due to their weight). I cut a circle in the middle of this to mount the fan to. I then cut holes in one corner to mount the battery pack to. The fan was held in by small machine screws, and the battery pack was held in by zip ties (which also held the batteries in the battery pack). To replace the batteries, I would need to cut the zip ties and replace them. I mounted this pressboard to the underside of the box lid with machine screws and washers (the washers help the cardboard to support the weight).
Our next step was to make the logs (because every good campfire 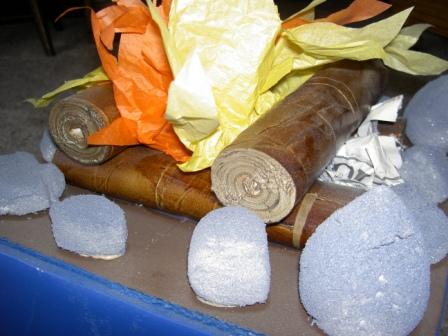 needs fuel!). We made this as a den craft project. The logs were just sections of newspapers rolled up then wrapped in tan masking tape. The masking tape’s texture gave our “logs” a wood grain look, which we were real happy with. We spray painted these brown (we used a craft spay paint which was made to look like wood). I think these came out great!
Then we took some small styrofoam balls and made the rocks 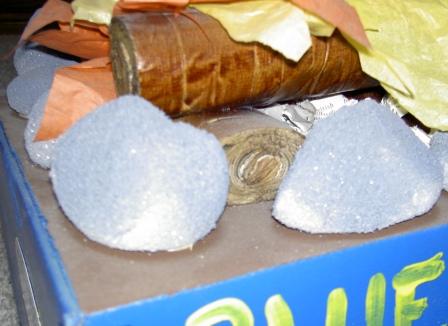 (because every good campfire needs to be contained!). We filed one side flat so we could glue it down, then I let the boys shape the rocks as they saw fit. Since we were working with styrofoam, this was very messy! I had some grey primer spray paint around my house, so I used this to paint the rocks.
Then it was ready to put together. We set up the logs in a criss-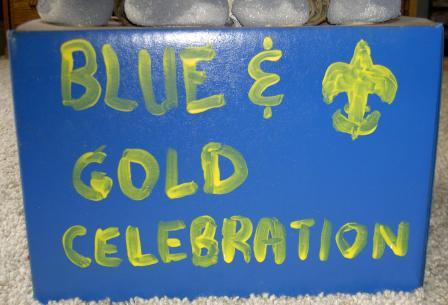 cross formation, to simulate a log cabin campfire. We hot glued the first two to the base, then the next set on top of the first set of logs. The logs were spaced apart so they wouldn’t block the flow of the fan. Next we hot glued our rocks around the perimeter of our little campfire.
Next we found some orange and yellow tissue paper and cut pieces to look like flames. We used white glue to glue it to the top logs. We even stuffed some real newspaper in the logs for effect! As I noted on a recent podcast, it did take some time to find the orange tissue paper. But tissue paper flickers so well with the fan!
One hurdle we had to overcome was getting enough airflow to cause the tissue paper to flicker. I tried cutting some vent holes, but this hurt the look and really didn’t give us enough air. So we ended up placing 1″ x 2″ wood spacers at each corner and lifting the entire box off the table. Not necessarily attractive but it did the job. These little fans took in quite a bit of air.
If I had it to do over again, one thing I’d do differently is to mount a light inside the box. I saw this on one on the Internet, and I thought that would be a great effect. I’m not sure how that would have worked with the fan’s spin, so I would need to test this first.
—
Although these were made for Blue and Gold centerpieces, they can have other uses. You can use them for a skit, a Cubmaster minute, or maybe a talk about the outdoors at a pack meeting (although you might need to make a larger one for a pack meeting). Or you can have an indoor campfire with some fire-free smores. I am going to use my indoor campfire as a training aid. What better than to have a talk about campfires and the outdoors while sitting around our tabletop campfire!
Making a table top campfire is a fun craft to share with the boys. Not only do they look good, but they can have many uses. And what shows the spirit of Scouting and the outdoors better than a campfire!
In Scouting,
– Scouter Jeff <><
Fire-free Smores November 14, 2008
Posted by jeffcummings in Uncategorized.Tags: Campfires, Campouts, Cub Scouts, Meeting Helps, Outdoors, Scout Leaders, Scouts, Smores, Training, Webelos
add a comment
Hello fellow Scouters,
Happy Friday to you! As you know, it’s just not a Cub Scout campout without smores. There’s something about the combination of chocolate, roasted marshmallow, and graham crackers that can’t be beat. But what if you don’t have a campfire? What are you to do?
Here in southern California, we get dry spells in the fall (called Santa Ana’s), and we have campfire restrictions. There’s nothing like sitting around the fire ring staring at a lantern in it! Sometimes, when it’s real dry and windy, we can’t even use hot coals (so no dutch ovens). But that doesn’t mean we can’t have smores!
It’s easy to make a smore with no fire or heat. You still use your chocolate, and you still use 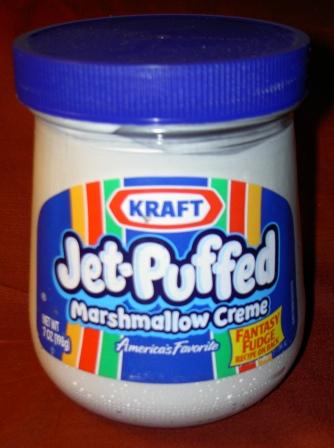 your graham crackers. But instead of a marshmallow, you get a jar of marshmallow cream and substitute a spoonful of marshmallow cream for the roasted marshmallow. It tastes the same, and it still gets your child’s clothes and sleeping bag sticky. It’s not warm like a marshmallow right out of the fire, but a cold smore is better than no smore.
You can even use this outside of camping. Going to the beach for the day? Hosting a day-camp? Need a snack for a pack meeting? Now you can have smores and not have to worry about fire or marshmallow forks.
Enjoy!
In Scouting,
-Scouter Jeff <><